Tech Tips for Virtual Ensembles Monday, April 06, 2020
If every post you’ve read recently has recommended that you create a virtual ensemble during this distance learning time but hasn’t told you how, then you may waist deep in a project bigger than you anticipated – or you may just have no idea what to expect!
It’s tempting to want to achieve something like Eric Whitacre’s Virtual Choir, but our students aren’t professional musicians and we aren’t professional video editors.
A virtual ensemble is a BIG technological undertaking, so here are some tips to get started!
 Equipment:
For the Teacher
– Video editing software
– Recording device (phone, tablet, laptop, external microphone, etc)
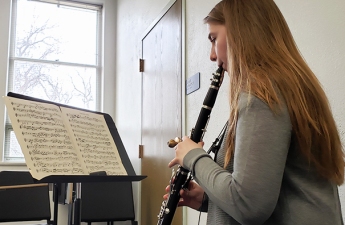
For the Student
– Device to listen to provided track with headphones/earbuds
– Device to record their part
– Instrument and music stand (here are some creative ideas if students need to improvise a stand at home!)
Distributing Music:
– Send parts to your students digitally! No printing, no scanning. Watch this video about copyright laws for tips, and only send music that you have legally purchased to your students.
– See what’s available via Stanton’s Digital Delivery.
– Bill your digital order to your school account (and make sure you don’t lose your allotted school funding before the end of the year!). Contact the Stanton’s Sheet Music Specialists (Choral, Instrumental, and Keyboard/Pop/Guitar) and let them know your school name, purchase order information, and which titles you need to receive in your inbox.
 Instruction List:
– You’ll have to tell your students how to get started. There are a lot of details to think about, especially if you plan on posting your performance somewhere for parents to watch later, like YouTube.
– Dress code – no commercial logos. School spirit wear or school colors are a great choice!
– Environment – a quiet area with a closed door; turn off fans, TVs, or other excess noise.
– Camera – phones usually have better mic and camera features than laptops. Film with the phone in portrait position to show less background and a full shot of the student. Take a picture at the camera angle first to make sure the student, instrument, and posture can be properly seen.
– Video Submission – here’s a list of online sharing tools from NAfME. Google Drive is easy to use; here are tips for how to share a folder and how to upload a folder.
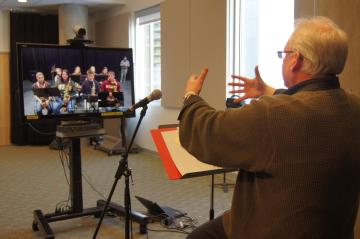
Create a Conductor Video:
– Introduce the music and your lesson. Give educational reminders like tempos or rehearsal markings – anything you need to say to create a unified mood.
– When you’re ready to start conducting, instruct all of your students to clap or make another noticeable noise – this will help you to line up the videos in the editing stage.
– For the layout and construction for your video, first watch Eric Whitacre’s instructions he posted for his Virtual Choir for guidance. Split the screen of your video into two halves – on one side, you conduct to encourage musical expression and on the other you play the piano to give the students something to play along to. Insert a link from Stanton’s Jukebox and have them play along to a professional example recording.
– Video editing may be a whole new world for some teachers and others may have already done projects like this in the past. Don’t get frustrated! There are lots of tutorials available on YouTube for whatever skill level you are and whatever program you are using. You will learn so much more as you go along!
When your virtual ensemble is complete, please share it with Stanton’s by tagging us on Facebook or Instagram! We love being your partner in music education, and we’re proud to support you and your students.